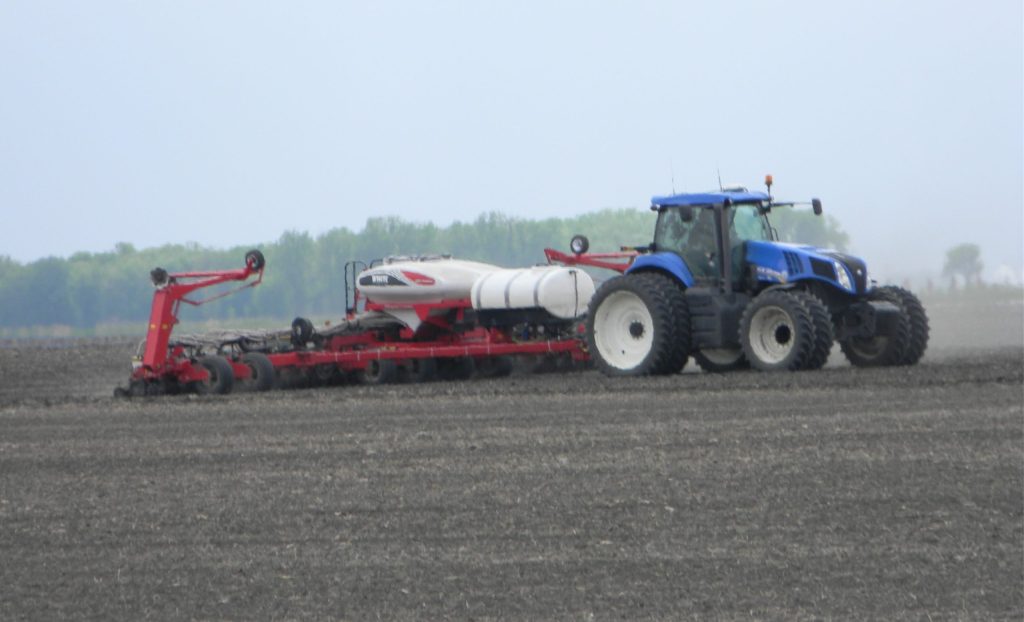
A review of how best to adjust, inspect and otherwise check on your planter to maximize yield.
In order to grow the best crop of any kind, farmers are well aware their machinery must be working properly, and that settings and speeds must be correct. Here are some general and sunflower-specific reminders to consider during your annual planter inspection.
In sunflowers and other large seed crops, planter mechanical issues can lead to unacceptable ranges in head size, kernel size and kernel quality. Poor planting can also result in lodging and make harvesting difficult. The first thing to check on a planter is proper inflation and tire size. If these are not in line with the manufacturer’s recommendations, population variation can result.
Next, the closing wheel alignment should be checked, as well as the wear on disk openers. Make sure all drives (chains, bearings and shafts) are working well and check to see all chains and sprockets are properly aligned. Also check all seed tubes and sensors to make sure they are clean and functional. Row cleaners should float freely with maintained pivot point and bearings. Remember that residue left in-furrow can change soil temperature and cause delayed emergence.
With air seeders, check opener disks for wear and if they are 17” or less, install new ones. Examine firming and closing wheel arms, check bushings, and check the condition of the air delivery system, making sure the air system fan is operating at proper speed. Also go over all hoses and distributors for wear, air leakage, cracks or blockages.
Assure seed boots are within spec, and if more than ½” is burned off the bottom of the boot, replace it. You can also check this by using a tape measure or ruler to make sure the boot is 11.3” or longer. Then, calibrate downforce to ensure the boot is running properly. Remember that too much downforce will cause the boot to run deeper in the trench, and therefore it won’t run parallel to the ground.
Make sure all bearings are in good condition and check that you have the proper metering roll for the application. Also check the metering roll for wear and debris. Along the way, give everything a good lubrication before you enter the field. Also consider filling your planter hoppers only half full to reduce the potential for bridging.
At Planting

After planting a few acres, be sure to check your calibrations and seed usage. For each seed lot, test your meter on a plant meter stand to determine the best speed, air or vacuum pressure, plate size, finger type and which eliminator setting should be used. This will take a bit of time, but it’s an important way to make sure you achieve proper plant population and spacing.
When planting, check seed placement by doing some digging. You may need to switch plates, and/or change baffle settings, singulator or double eliminator settings, and vacuum or air pressure for desired singulation.
You’ll know your vacuum is set properly if your skips and multiples are close to equal; if you have more multiples, lower your vacuum, and if more skips, increase your vacuum. Re- visit these settings between seed lots and for each lot, make sure the speed of the meter is adjusted to what’s best.
